
SMOOSH JUICE
The Marker Meter and Beyond: Managing Consequences in TTRPGs

The Marker Meter and Beyond: Managing Consequences in TTRPGs
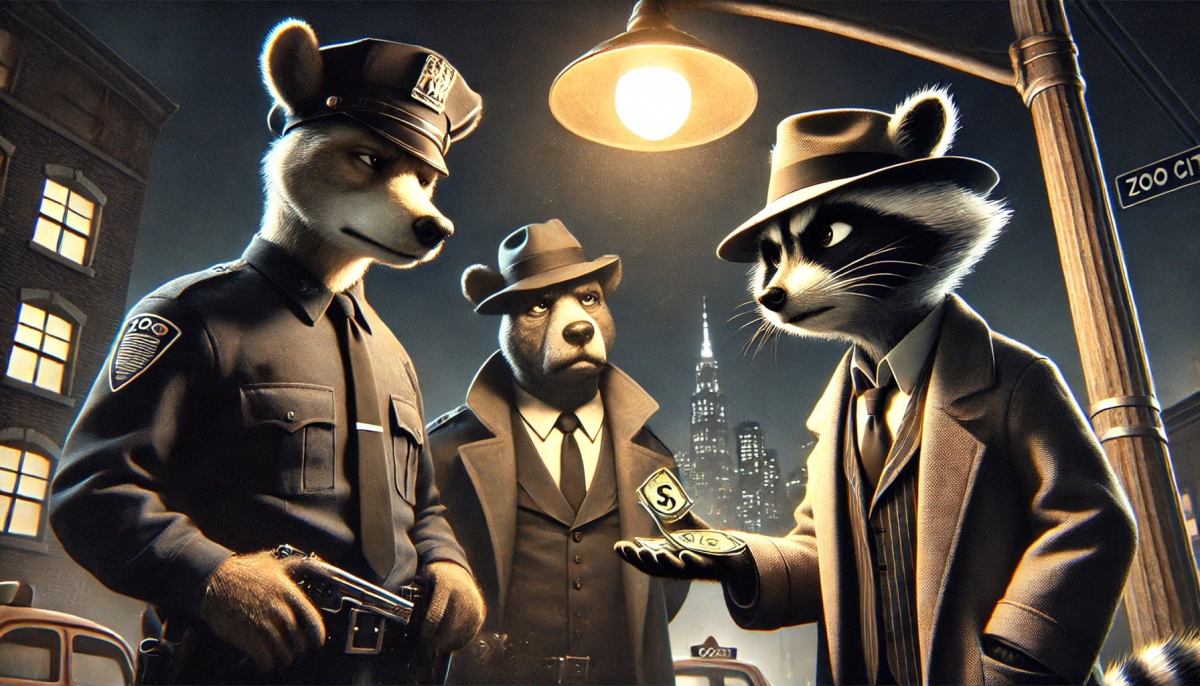
In the world of Zoo Mafia, bullets aren’t the only thing flying—Markers are the currency of chaos, the countdown of consequence, and the key to every dramatic twist. Whether you’re pulling off a

peanut heist, talking down a rival under the glow of a red moon, or trying to outrun the long paw of the law, the Marker Meter is what keeps the pressure on and the story moving forward.
So how does it work, and why does it matter? Let’s take a closer look at how the Marker system helps power Zoo Mafia‘s high-stakes drama and how GMs—known here as Zookeepers—can make the most of it at the table.
What Is the Marker Meter?
Every character in Zoo Mafia starts with a pool of Markers—10 in a full campaign, and 3 in a one-shot. These aren’t health points. They’re more like luck, favor, and narrative currency all rolled into one.
Players can:
-
Spend Markers to push the story in their favor, like avoiding a botched roll or dodging an ambush.
-
Lose Markers when the world pushes back—failing a critical move, making enemies, or triggering fallout from a choice.
Markers are tracked on a Marker Meter—a visible countdown from control to chaos. When you’re flush with Markers, you feel untouchable. When you’re down to one or two? Every action is desperate. Every scene carries weight. And when you lose your last Marker, something happens by the end of the session that removes your character from the story—one way or another.
Why the Marker Meter Works
The brilliance of the Marker system lies in how it blends story-first design with player agency. Powered by the Apocalypse games are known for emphasizing narrative momentum, and Zoo Mafia leans into this hard.
Instead of focusing on raw survival, the Marker Meter is about stakes, spotlight, and tension. It’s a countdown to a dramatic twist, whether that means:
-
Getting hauled off by zoo security
-
Making one last heroic stand
-
Being offered a deal you can’t refuse—and probably shouldn’t accept
It creates an atmosphere where the fiction is always more important than the math.
Spending vs. Losing: A Balancing Act
A key part of Marker tension is the push and pull between spending and losing. Players can burn Markers to avoid disaster—but that doesn’t mean they’re in the clear. Sometimes, surviving one bad roll means stepping closer to something worse later.
Examples of spending:
-
“I’ll spend a Marker to twist the conversation—maybe I’ve got dirt on this guy.”
-
“I’m burning one here—I don’t want this fight to end with my face in the pavement.”
Examples of losing:
-
Failing with triples, or failing with doubles and the enemy boss showing up makes you lose a marker.
- Succeeding with consequences while rolling triples forces you to give one of your markers to another player at the table.
The difference is control. Players can choose to spend to stay one step ahead—but the world can take Markers away to remind them who’s really in charge.
1 Marker Left: The Countdown Begins
Once a character hits their final Marker, the Zookeeper should make it clear: the end is coming.
It might be the end of a story arc, a moment of sacrifice, or a final betrayal. But one way or another, if you have zero Markers by the end of the session, your character is gone.
This isn’t a punishment—it’s an invitation to go out with style. Maybe they disappear with the ledger. Maybe they torch the distillery. Maybe they hand themselves in to protect the crew.
It’s the rule that ensures Zoo Mafia always ends in fireworks. We are nearing the end of the fifth full 12 session campaign being run with this rule set and we have seen many come close to saying good bye to their last marker and in one campaign, we had one character marker out and another go up in a blaze of glory.
Tips for Zookeepers: Making the Most of the Marker Meter
Here are a few ways to use Markers as more than just a countdown:
1. Make Marker Loss Story-Relevant
Don’t just say “lose a Marker”—show what it costs:
-
“You lose a Marker—and now Benny at the diner won’t talk to you anymore.”
-
“Marker down. You dropped your lucky coin in front of a security camera.”
Each loss should be a branch in the story.
2. Reward Smart Marker Use
Players who burn Markers in creative ways should see real payoff. Let them:
-
Flip an NPC’s allegiance
-
Pull off a risky move in style
-
Escape a scene they had no business surviving
3. Track Marker Trends
Notice who’s always low on Markers. These are the characters living on the edge—and the ones who’ll need the most dramatic exits.
Conversely, if someone always has plenty, introduce dilemmas that tempt them to spend. A good Marker burn can be just as satisfying as a clutch success.
Want to evolve the concept further? Try these twists:
-
Custom Faction Markers: Track your gang’s influence across different zones. Losing too many in one territory might spark a turf war.
-
Heat Tracks: Add a “cop heat” meter separate from personal Markers. When it maxes, the whole crew’s on the radar.
-
Flashback Buys: Let players spend Markers to reveal something they set up earlier—just like in classic heist fiction.
These variations keep the Marker system fresh, flexible, and dangerous.
Final Thoughts
The Marker Meter is the beating heart of tension in Zoo Mafia. It’s not just a countdown to failure—it’s a countdown to story, spotlight, and spectacle. Whether you’re dodging dogs with badges or finessing your way through a speakeasy standoff, every Marker you spend or lose is a choice that shapes the world.
So keep your paws on the pulse, and remember: when the last Marker falls, you don’t just disappear. You make headlines.
Thanks for Reading. Until Next Time, Stay Nerdy!!